
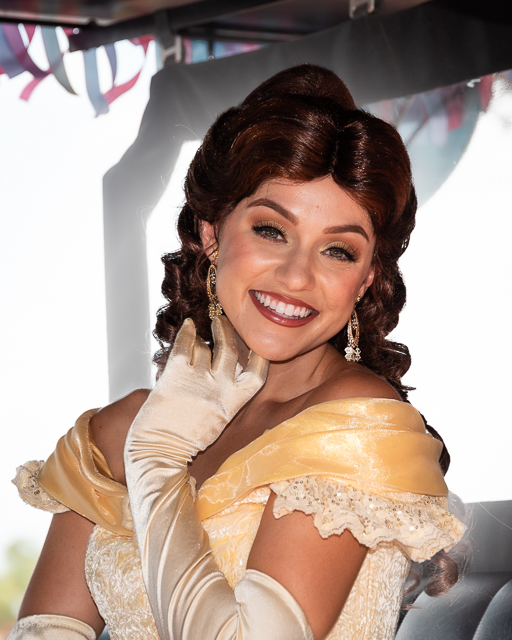
Before I get to how I got from the Before and After photos of Princess Belle from Disney’s Beauty and the Beast animated classic, I want to tell you how I got such a lovely photo of her. Back in May of 2021, Walt Disney World was still under many Covid restrictions. One being characters in the park could not Meet and Greet guests has they did before the restrictions.
To give guests some interactions with characters, Disney came up with Character Cavalcades. In Epcot’s World Showcase there were Princess ones with them sitting in a horse drawn carriage and waving to guests from a distance. I got in position with my Nikon D750 camera with my goto park lens, the Nikon 28-300VR. As I always do for outdoor photos of people outdoors during the day, I used Fill Flash to fill in the shadows and create catchlights in the subject’s eyes.
As you can see in the Before (photo on the left) the top of Belle’s hair was hard to see against the dark trim inside the carriage. I recently came across a youTube video about a Lightroom Classic process to separate her from the busy background.
Quickly, it goes like this…First I used Lightroom’s Select Subject AI to select Belle. Then I inverted that mask so that everything was selected except Belle. Here is where the magic happens, Then, I selected Invert Mask with Radial Gradient and created an oval around Belle. This selected only the background behind Belle within the radial. Then I decreased the Dehaze and Contrast sliders of the Radial Gradient until the background softened and lightened behind Belle without affecting her. Finished with a crop and other minor adjustments.
However, it may be easier to just watch the video. I used the first technique Mark McGee shows but will be looking to use the other two when I take an image which could be improved using them.


